Sculpture Drawing
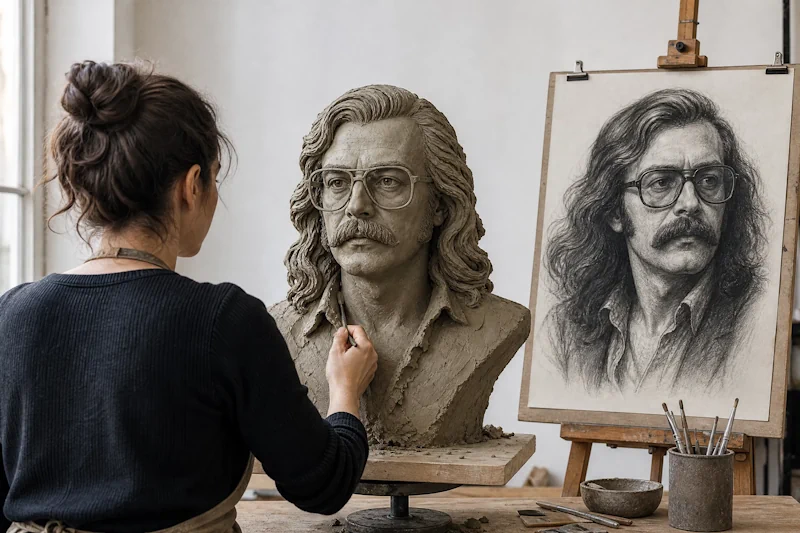
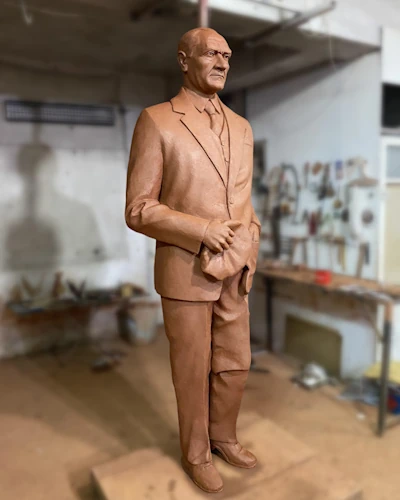
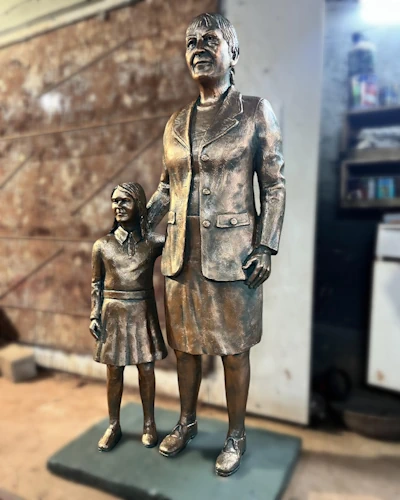
Most beginners in sculpture want to start shaping the moment they pick up the clay. Yet nearly all experienced sculptors make a preparatory drawing before starting the clay work, or keep a reference image showing the figure from every angle. This step matters not just for how the sculpture looks, but for building the three dimensional form correctly.
Why Drawing Is Essential Before Sculpting
Clay is a material that keeps changing as you work it by hand, allowing constant on the spot decisions. That flexibility is also a trap: in a figure that has not been planned in advance, proportions get thrown off easily, body balance is lost, and the relationship between head, torso, and limbs becomes inconsistent. A drawing acts as preparatory work that minimizes these risks. Mistakes made with a pencil on paper can be fixed in seconds, while noticing and correcting the same mistake in clay takes far more time and effort.
Drawing also lets the sculptor get to know the figure. Discovering where the body bends, how the muscles connect to each other, and how light travels across the form through repeated study on paper means the hand already knows what to look for once the clay is in hand.
What To Do Without A Drawing: A Complete Reference Image Is A Must
Not every sculptor can produce a good drawing, and that is completely normal. Even so, there is one rule that should never be skipped: a reference photo or image showing the figure fully and completely must be on hand. The word complete matters here; a single photo shot from one angle showing only the front is not enough. Multiple images covering the front, side, and ideally the back view of the figure should be used together.
Working from a single angle usually leads the sculptor into the biggest mistake of all: ignoring depth. A pose that looks striking in one photo can carry a completely different balance and volume relationship when viewed from the side. This is why the reference image needs to be rich enough to convey the form from every direction.
Details To Cover In The Preparatory Drawing
A good preparatory drawing should not be limited to just outlining the silhouette. The following elements must be included in the study:
Skeleton and main mass placement: the spine curve, and the position of the shoulder and hip lines relative to each other, define the figure's pose and are the first basic lines to draw.
Muscle and joint points: where points of movement like the knee, elbow, and shoulder bend determines whether the figure looks natural or stiff.
Balance line: the vertical balance line showing which foot or point carries the weight is also a technical requirement for the sculpture to stand without tipping over.
Surface flow: details such as fabric folds, hair strands, or wrinkles on the skin should be noted at the drawing stage.
The Most Effective Way To Learn Light Shadow And Form
The only way to convincingly represent a three dimensional form on a two dimensional surface is to use light and shadow correctly. Placing light, mid, and dark tones correctly in a drawing shows the sculptor where the form rises and where it recedes. Light and shadow study is not just an aesthetic exercise for a sculptor, it is a practice in understanding form. Studying on paper how light glows on the front of an arm and how shadow softens on the back determines in advance where the hand will apply pressure and where it will carve deeper once working the same arm in clay.
This is why experienced instructors have sculpture students spend long sessions on charcoal light and shadow studies. The knowledge needed for a surface to look realistic is mostly learned through drawing and then repeated in clay.
Measuring Proportions On Paper Before Sculpting
One of the most basic requirements for a successful sculpture is correct proportion. The general proportion rules of the human body, such as how many times the head length repeats across the body, the ratio of arm length to torso, and the balance between legs and torso, must be determined with precise measurements at the drawing stage. Without proper measurement, proportion errors in a sculpture grow larger as the work progresses and become harder to correct. Marking the alignment of the head, shoulders, hips, and knees using a grid system or guide lines in the drawing makes it much easier to apply these same measurements directly once work moves to clay.
Emphasizing Curves In Sculpture
The human body is made up of continuous curves rather than straight lines. The natural S shaped curve of the spine, the shift of the hips to one side, and the shoulders balancing in the opposite direction, a pose known as contrapposto, are among the most important elements that give a sculpture movement and life. These curves need to be emphasized clearly but without exaggeration at the drawing stage. Failing to capture the curves correctly in the drawing results in a sculpture that looks flat and lifeless in clay as well.
Building A Sense Of Depth Through Drawing
Creating a sense of depth on a two dimensional surface requires a specific skill for a sculptor. Drawing the limbs in the foreground larger and sharper, while lightly reducing and softening the parts in the background, strengthens the visual perception of depth. In addition, correctly showing the overlap relationship where limbs intersect, for example where an arm passes in front of the torso, makes it clear to the viewer's eye which part of the form comes forward and which recedes. This information helps the sculptor decide which part to bring forward and which to pull back during the clay work.
A Good Drawing Is The Foundation Of A Successful Sculpture
Sculpture making succeeds not just through skill of the hand, but through the eye and mind understanding the form in advance. A drawing made before starting the clay, or a complete reference image kept on hand, serves as a map guiding the sculptor. When proportion, balance, curves, light and shadow, and depth are all studied and clarified at the drawing stage, the work carried out on the clay proceeds far more safely and under control. Taking the time for good preparatory work is, in the end, the most valuable step that saves both time and effort.
Date Added: | Last Updated: